

How To Prepare A Wall For Painting
When it comes to painting a wall, proper preparation is the key to achieving a flawless and professional finish. In this blog, we will walk you through the process of wall preparation, so you can transform a dull, worn-out wall into a fresh canvas ready to be painted.
Why Preparing A Wall Is Important
Taking the time to prepare your walls before painting ensures better results and a longer-lasting finish. Here's how:
- Ensures paint adhesion: Proper preparation allows the paint to adhere well to the surface, minimising peeling or chipping.
- Provides a smooth finish: By addressing imperfections and creating a smooth surface, you'll achieve a more professional look.
- Extends paint lifespan: Well-prepared walls enhance paint durability, preventing premature fading, cracking or peeling.
- Prevents stains and discolouration: Proper preparation prevents issues like water stains or mildew from surfacing through the paint.
- Saves time and money: Investing time in preparation helps avoid problems during painting and the need for costly touch-ups later.
Clear The Area
Before diving into the wall preparation process, create a clean and clutter-free workspace. Begin by removing any furniture, artwork or decorations from the wall you'll be painting. Additionally, protect the floor by covering it with a drop cloth or old sheets to prevent paint splatters.
Surface Cleaning
Start by using a dry cloth or broom to remove any loose dirt, cobwebs or dust particles. Next, prepare a sugar soap or wall cleaner solution according to the manufacturer's instructions. Dip a sponge or soft cloth into the cleaning solution and wipe down the entire wall, paying special attention to areas prone to dirt and grease build-up, especially in areas like kitchens.
Patching And Repairing
Begin by thoroughly inspecting the wall and identifying areas in need of patching or repair. For small nail holes or minor cracks, a lightweight putty or gap filler and putty knife to apply the compound, filling the holes and smoothing the surface. For larger holes or damaged areas, use patching plaster or joint compound. Allow the compound to dry completely, and then gently sand it with fine-grit sandpaper until it's flush with the surrounding wall.
Sanding
Utilise a medium-grit sandpaper and electric sander to sand all your walls, paying close attention to areas where patching compound or joint compound has been applied. Work in a circular motion with light pressure across the entire surface. The goal is to create a slightly rough texture, removing any bumps, ridges or imperfections. After sanding, use a damp cloth to wipe the wall to remove any dust or debris.
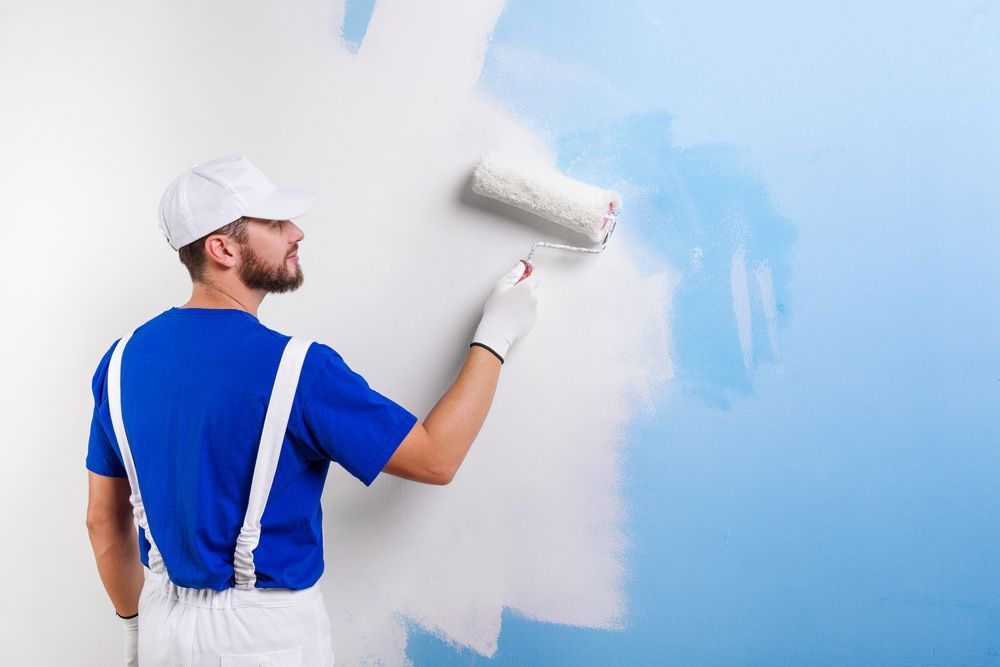
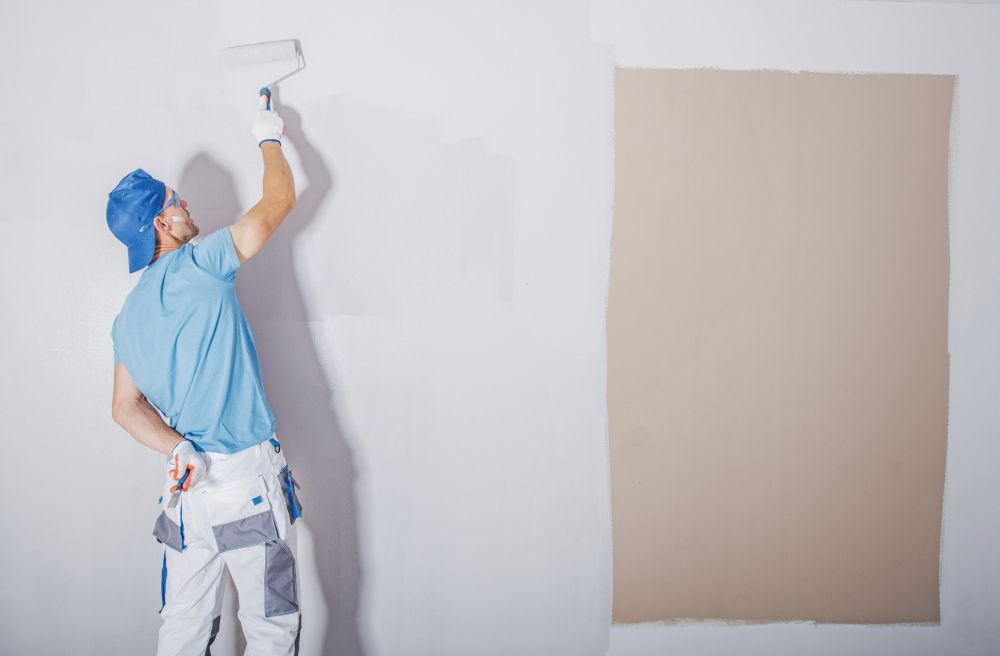
Priming
Choose a high-quality primer suitable for your wall's surface, e.g., drywall, plaster or a previously painted wall. Apply the primer using a brush or roller, starting from the top and working your way down in smooth and even strokes. Ensure complete coverage, including the patched and repaired areas and allow the primer to dry according to the manufacturer's instructions before proceeding with the painting process.
Affordable Painting Services In Darwin
If you're looking for skilled painters and decorators in Darwin, turn to Danco Painters & Decorators. We have over 25 years of experience painting and repainting residential and commercial spaces. Give us a call for more information or to request a quote.

Site Links
Services
Operating Hours
- Monday
- -
- Tuesday
- -
- Wednesday
- -
- Thursday
- -
- Friday
- -
- Saturday
- Closed
- Sunday
- Closed
Contact Information


